Soccer equipment and material specialist

USER MANUAL: FAIR Vision Camera
USER MANUAL: FAIR Vision Camera
FAIR Camera: Installation and User Guide

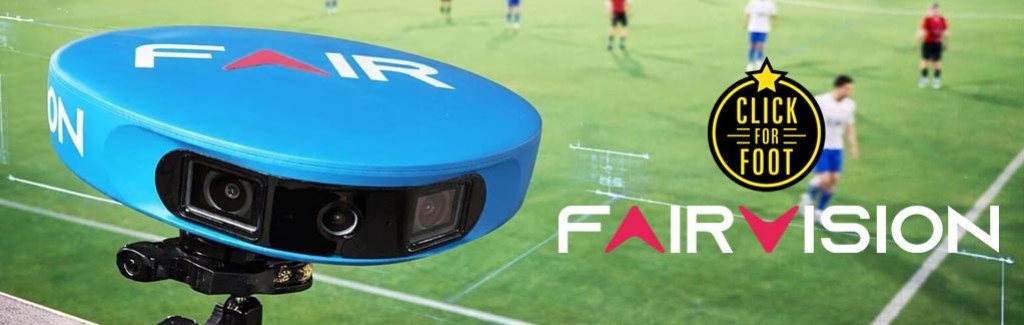
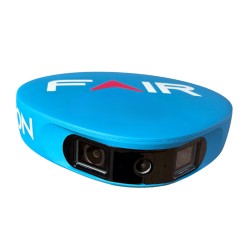
The FAIR camera makes it easy to record matches and training sessions from an elevated position. To get the most out of the system and achieve optimal framing of the pitch, a few setup steps are required before you start recording.

 In this guide, you’ll learn how to install, connect, and use your FAIR camera, from initial setup and start-up to properly storing the equipment.

1. Turn on the FAIR Camera

Start by keeping the camera inside its carrying case.

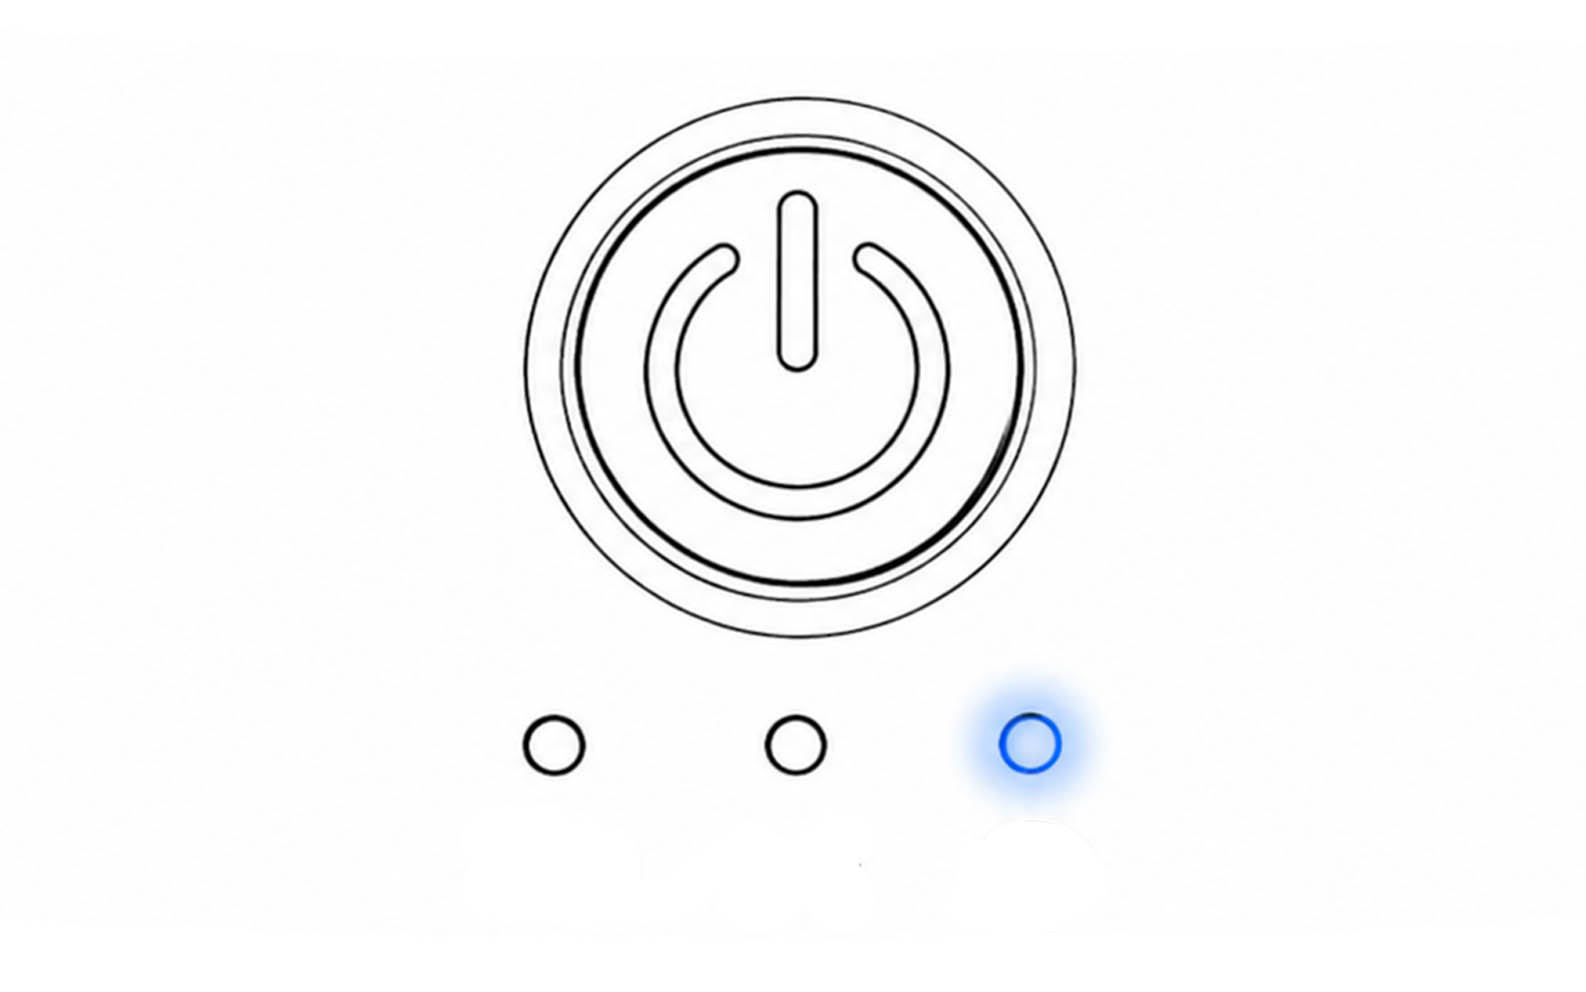
Then press and hold the ON/OFF button for approximately 4 to 5 seconds.

- When starting up, the camera emits a beep.

- The 3 white LEDs indicating the battery level light up.

- The LEDs flash during the initialization process.

Tip: Use this step to check the battery level before installing the camera on the pitch.

2. Wait Until the Camera Is Ready

Once switched on, the camera needs a short initialization period.

Allow approximately 1 to 2 minutes.

When the camera is ready to operate and communicate with your device, a blue LED will light up.

You can then proceed with the connection.

3. Connect the Camera to the App

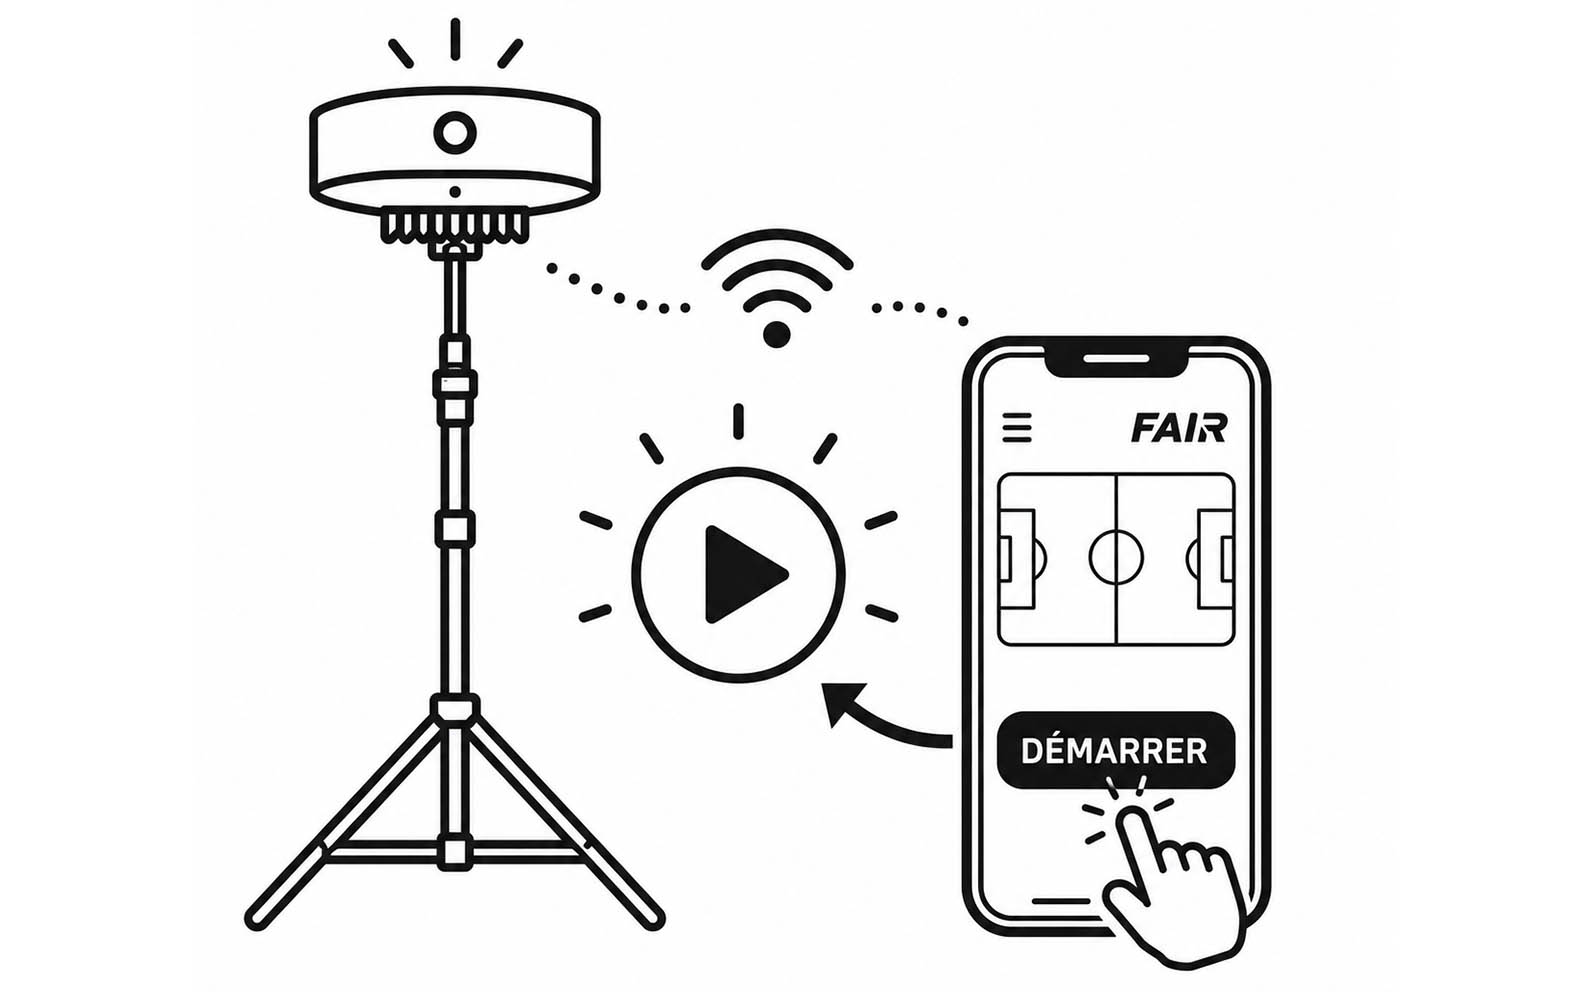
Open the FAIR app on your smartphone or tablet, then search for your camera to start the connection.

When connecting via Wi-Fi, select the network corresponding to your camera:

FAIR_XXXXX

If you are asked for a password, enter:

FAIRwifi

Once the connection is established, the app will guide you through the camera setup process.

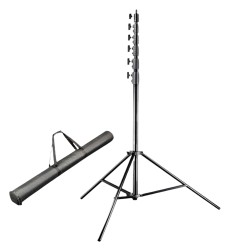
4. Position the Tripod Correctly

Proper camera positioning is essential to ensure a clear view of the entire pitch.

Place the tripod in line with the halfway line, following the instructions provided in the app.

Before continuing with the installation, make sure the tripod is stable.

If you are using a mounting clamp instead of the tripod, also make sure that it is correctly installed and securely tightened.

Tip: Whenever possible, choose a flat, stable surface and make sure the equipment cannot easily be knocked over or hit during the match.

5. Mount the Camera on Its Support

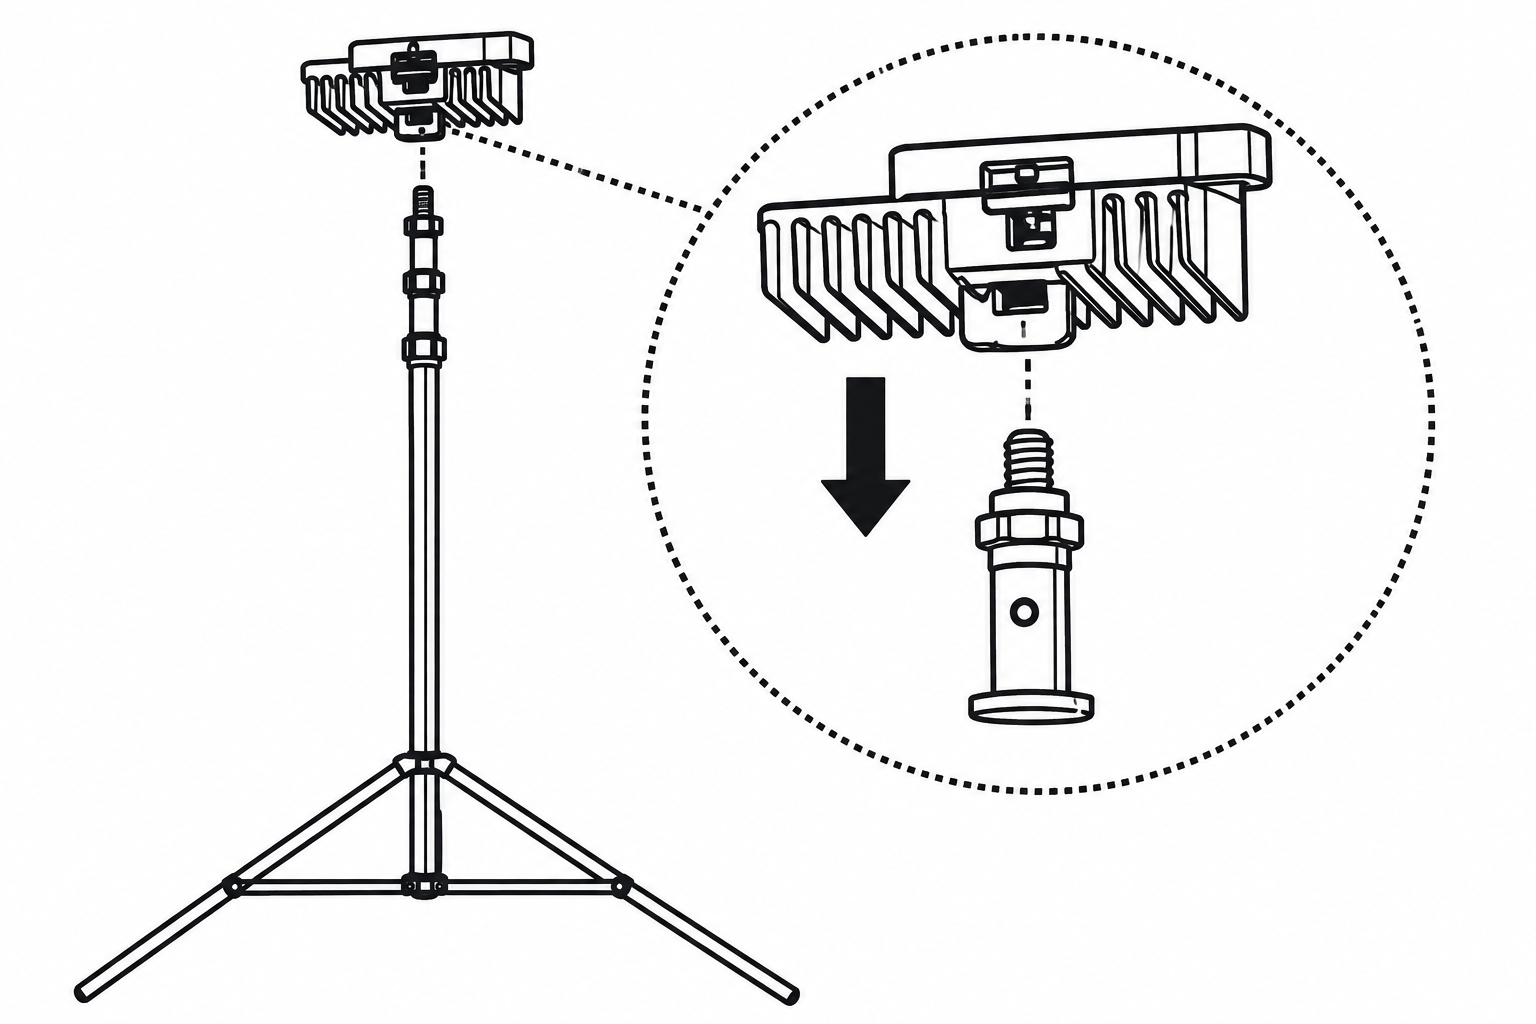
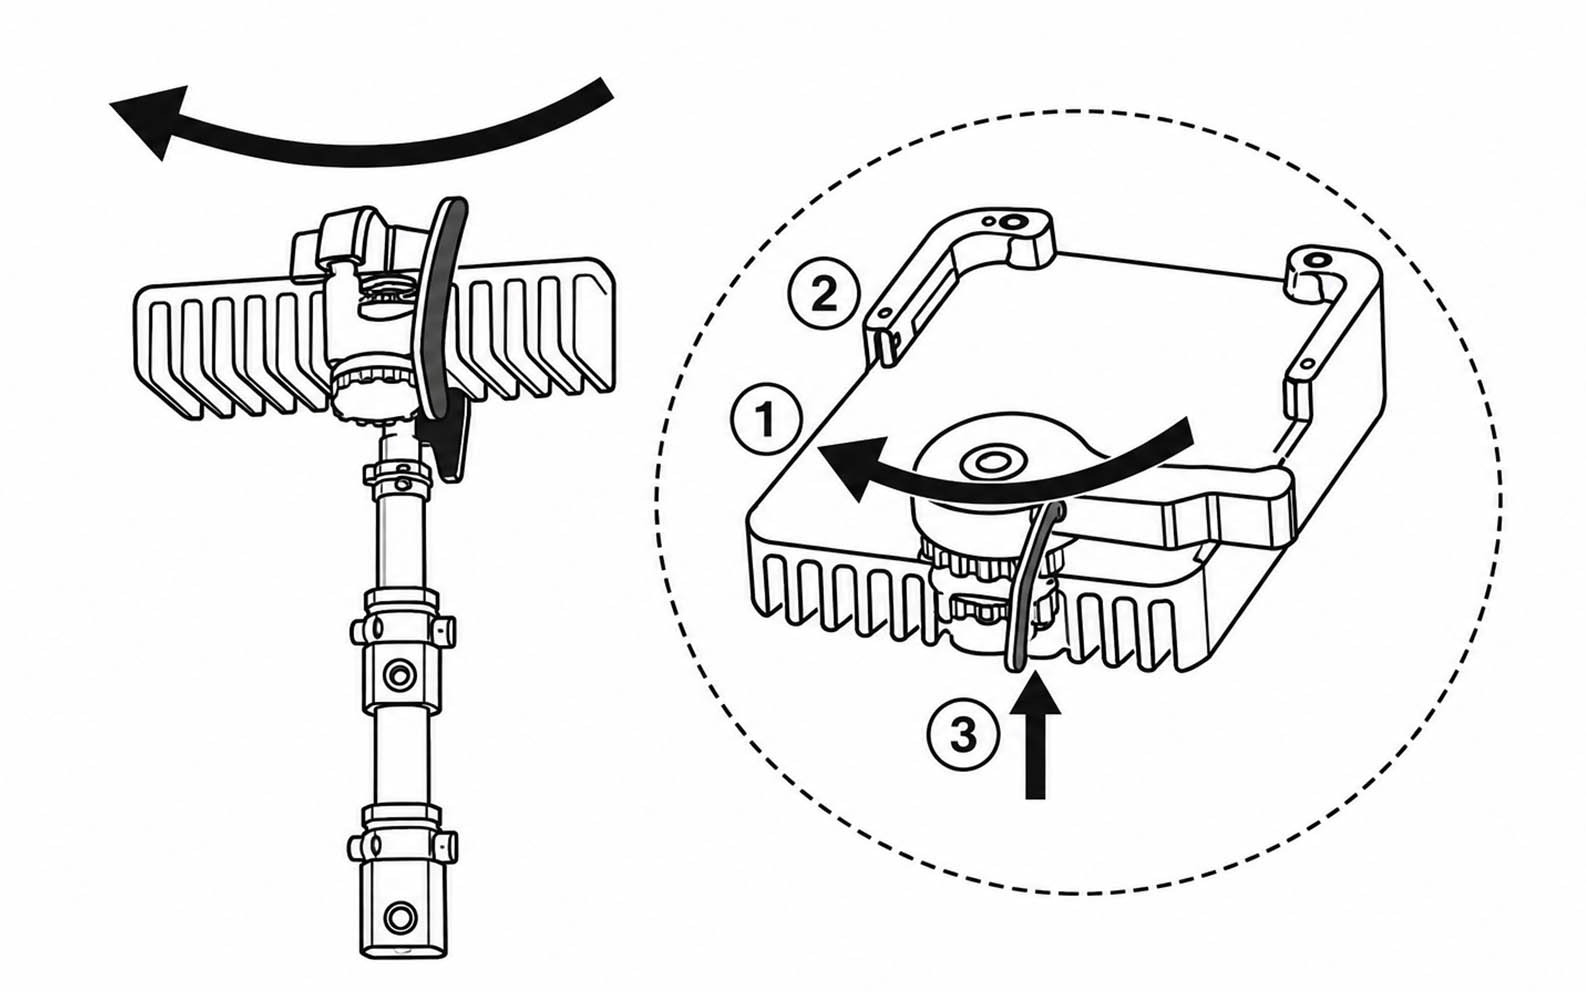
Next, install the camera on the designated mounting system.

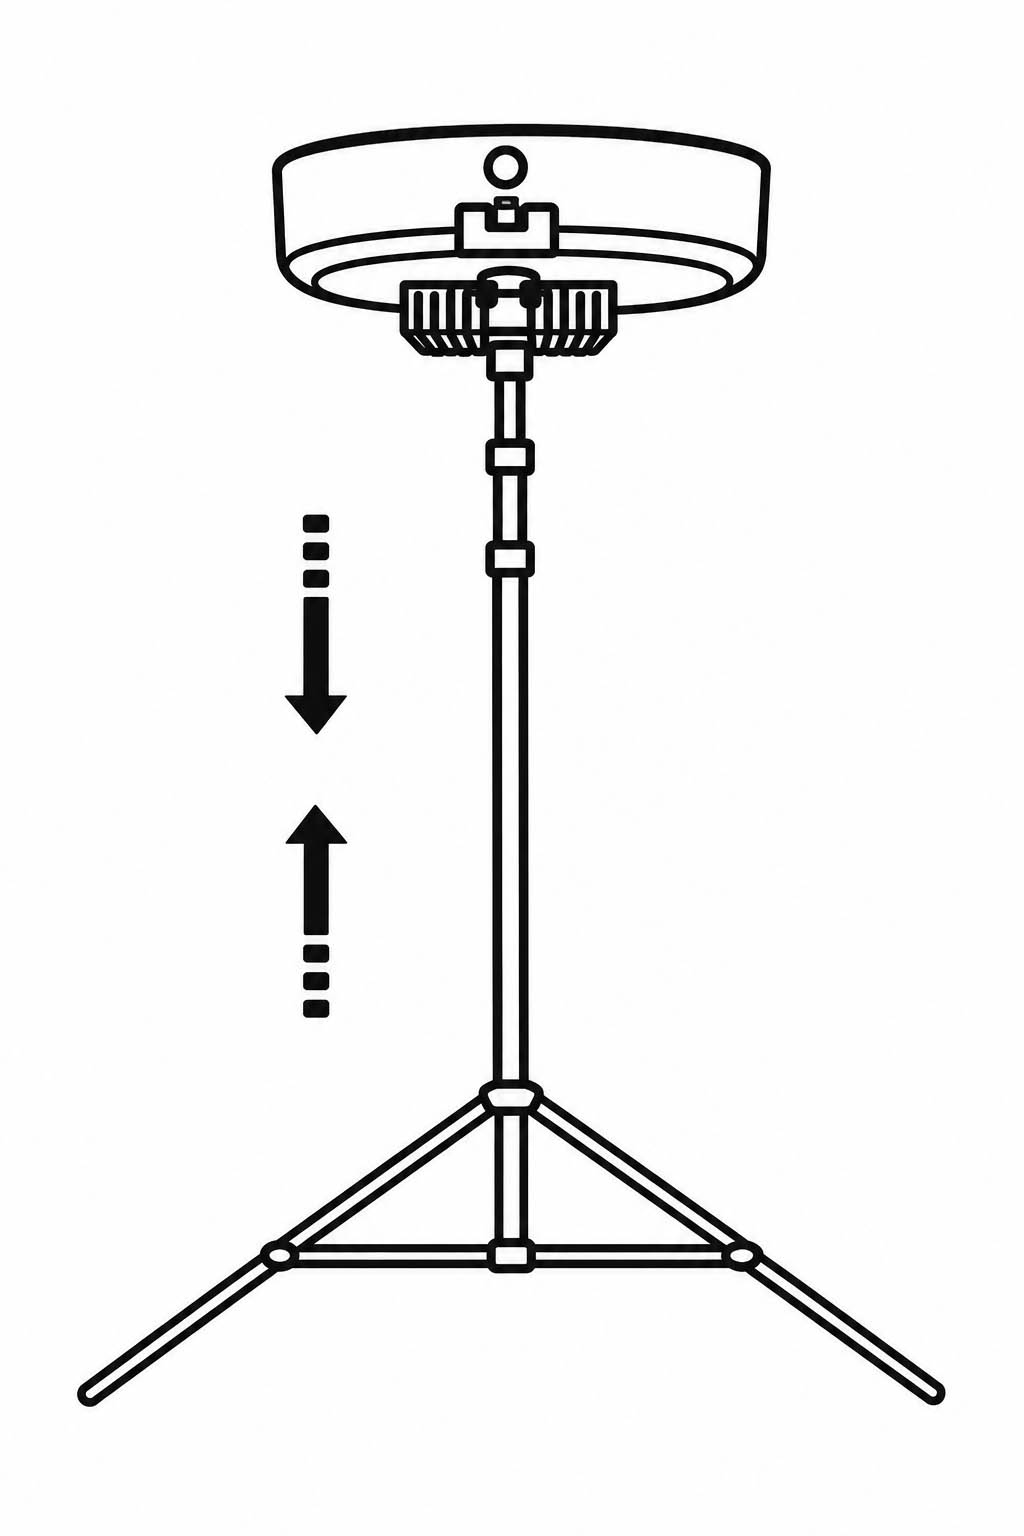
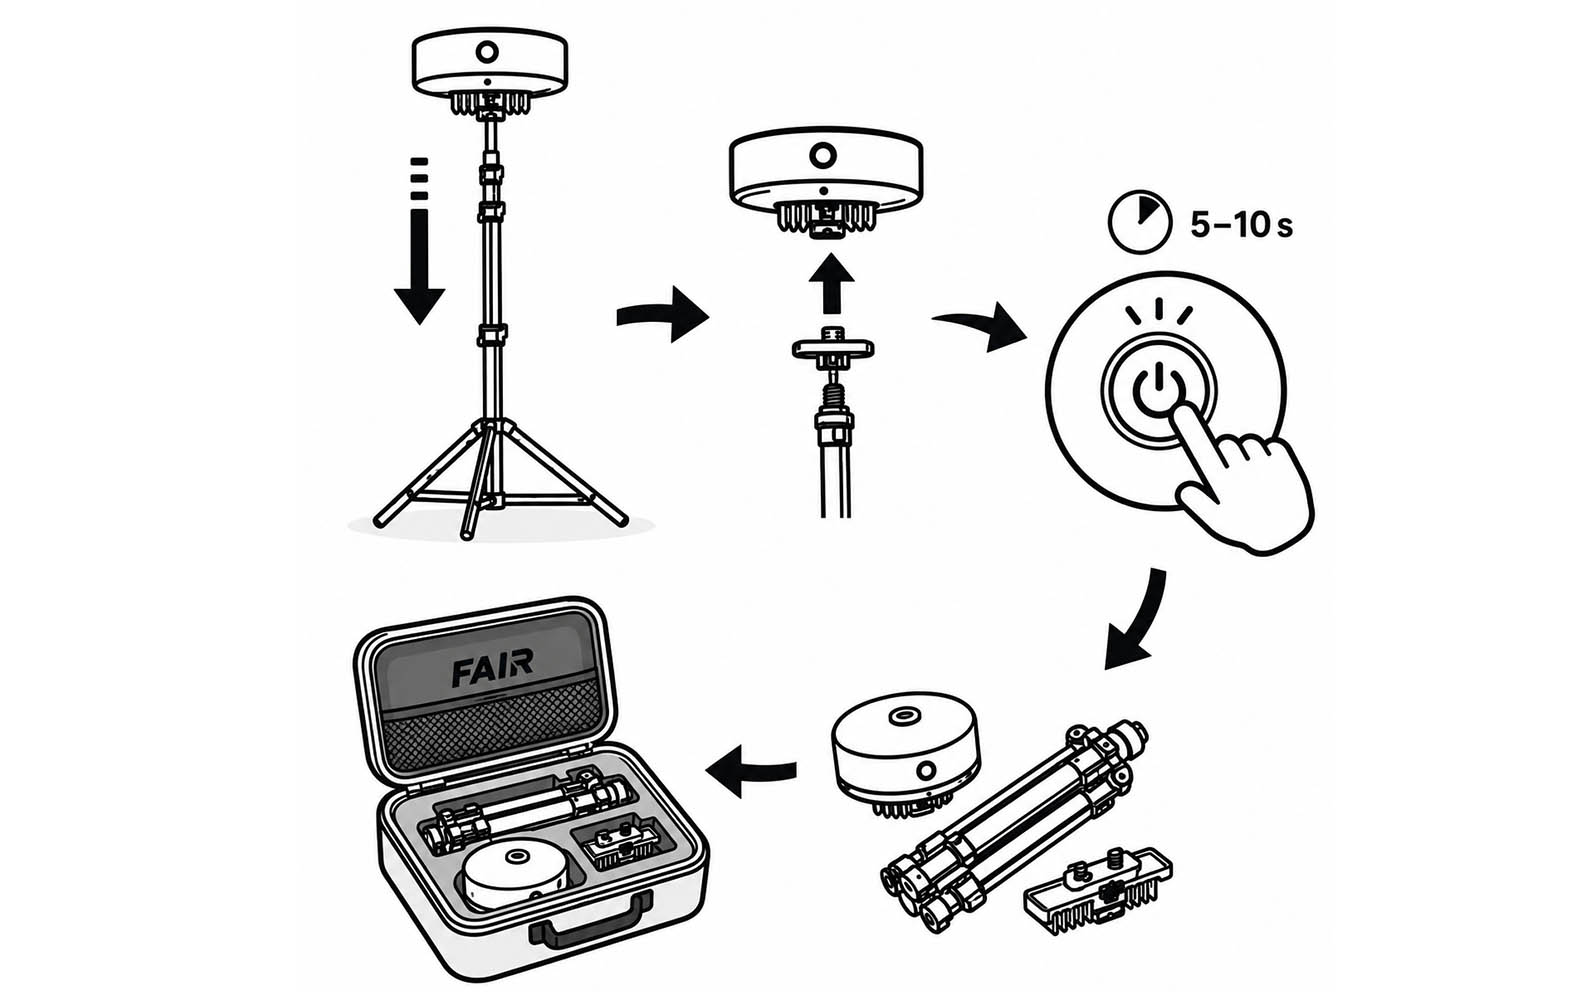
Position the camera correctly on its support, then lock it securely in place as shown in the diagram.

Before raising the tripod, always check that the camera is securely attached.

6. Adjust the Camera Height

Once the camera is correctly installed, you can extend the tripod.

Gradually raise the camera until you reach the desired height.

Important: Do not fully extend the tripod until you have checked that the camera is securely attached and that the entire setup is stable.

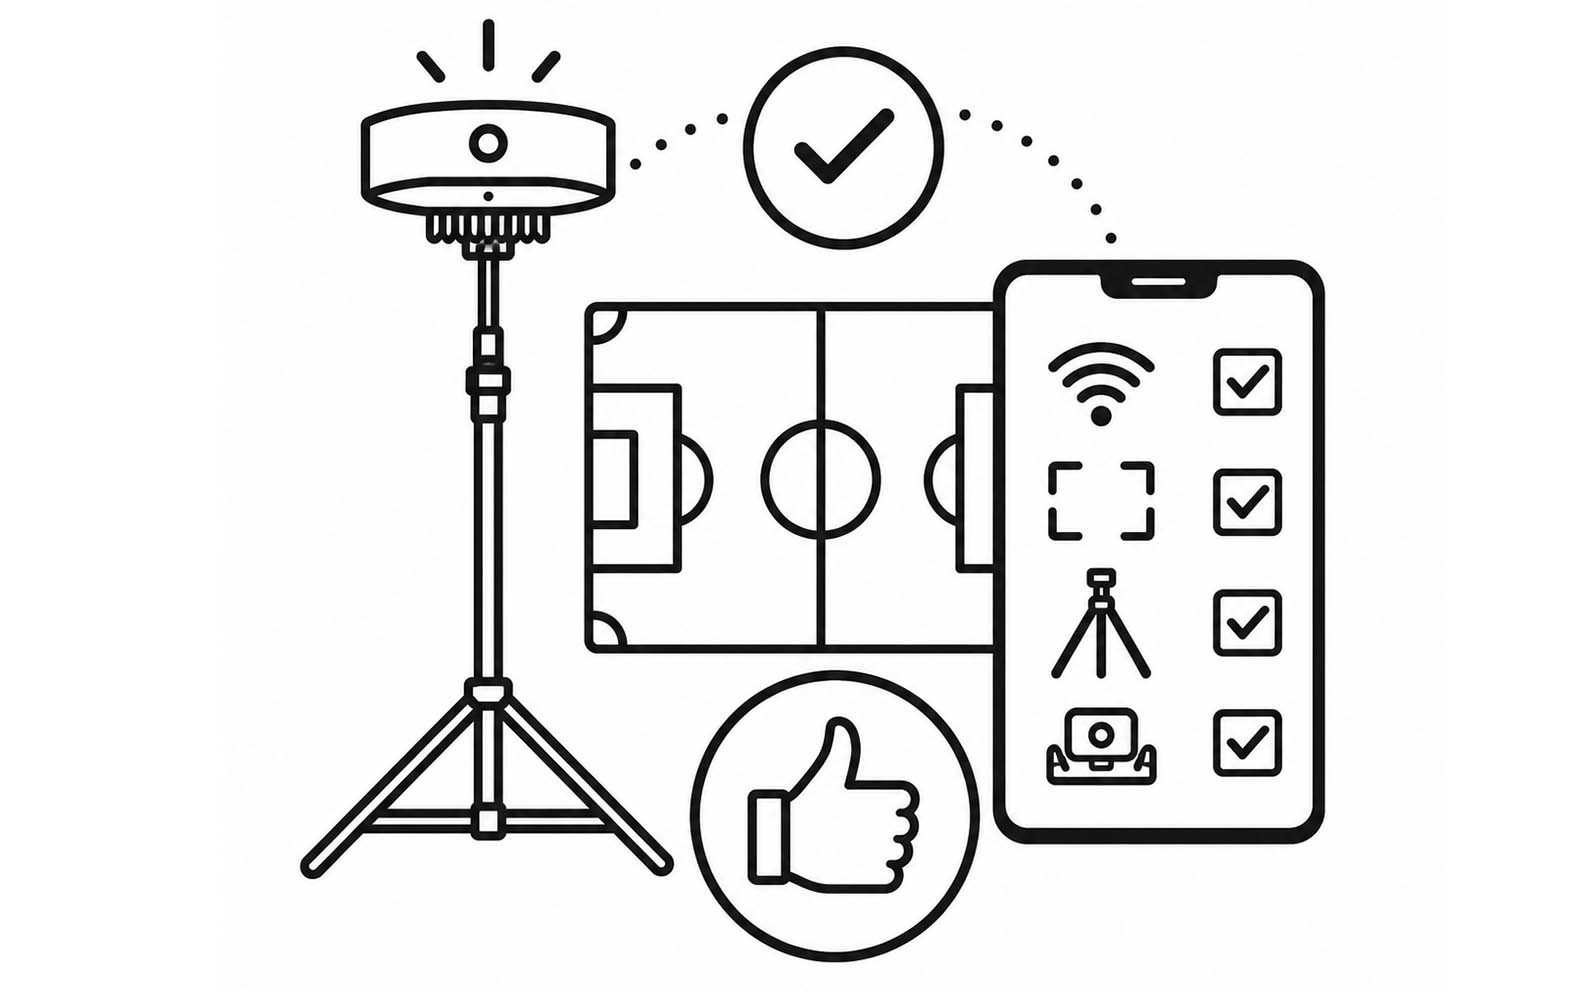
7. Check the Pitch Framing

Once the camera has been raised, follow the instructions provided directly in the app.

Before starting your match or training session, take a few moments to check:

  • - the connection to the camera
  • - the framing of the pitch
  • - the stability of the tripod
  • - the camera mounting

This quick check will prevent you from discovering after the match that half the pitch somehow decided to play off-camera.

8. Start Your Session

Once everything is correctly set up, follow the instructions in the app to start your session.

The camera is now ready to record your match or training session.

9. Turn Off and Store the FAIR Camera

Once the session is over, carry out the different steps in the reverse order of installation.

In particular, start by lowering the tripod before removing the camera.

To turn off the camera, press and hold the ON/OFF button for 5 to 10 seconds.

You can then dismantle the equipment and store the camera safely in its carrying case.

Best Practices for Using Your FAIR Camera

For an efficient and safe setup every time you use your camera, follow these simple best practices:

Before the MatchAfter the Match
✓ Check the battery level✓ End the session
✓ Turn on the camera 1 to 2 minutes before setup✓ Fully lower the tripod
✓ Check that the blue LED is on✓ Remove the camera
✓ Position the tripod in line with the halfway line✓ Turn off the camera
✓ Check that the tripod is stable✓ Store the equipment
✓ Check the pitch framing in the app✓ Recharge the camera if necessary

Caméra FAIR : une installation rapide avant chaque match

Once you are familiar with the different steps, setting up the FAIR camera becomes very simple: turn on the camera, connect it to the app, position the tripod, mount the camera, and then adjust its height.

Just a few minutes of preparation are enough to get the system ready to film the entire pitch and support the coaching staff with video analysis of matches and training sessions.

In summary:

Turn On → Connect → Position → Mount → Raise → Frame → Record

This is the routine to remember when preparing your FAIR camera quickly before every match.

group_work Cookie consent
x